Sunday 23 November 2014

Week 7 Start of the village project

This week was quite unique as I was introduced to a new project called The  Medieval Village Project.
The project includes three parts in which I will need to model a house, tree and a character following a given style. My end results will be imported to an existing village created by my tutors. 
It is also a group project which means that groups of 10 people would need to communicate and interact to create successful end results.
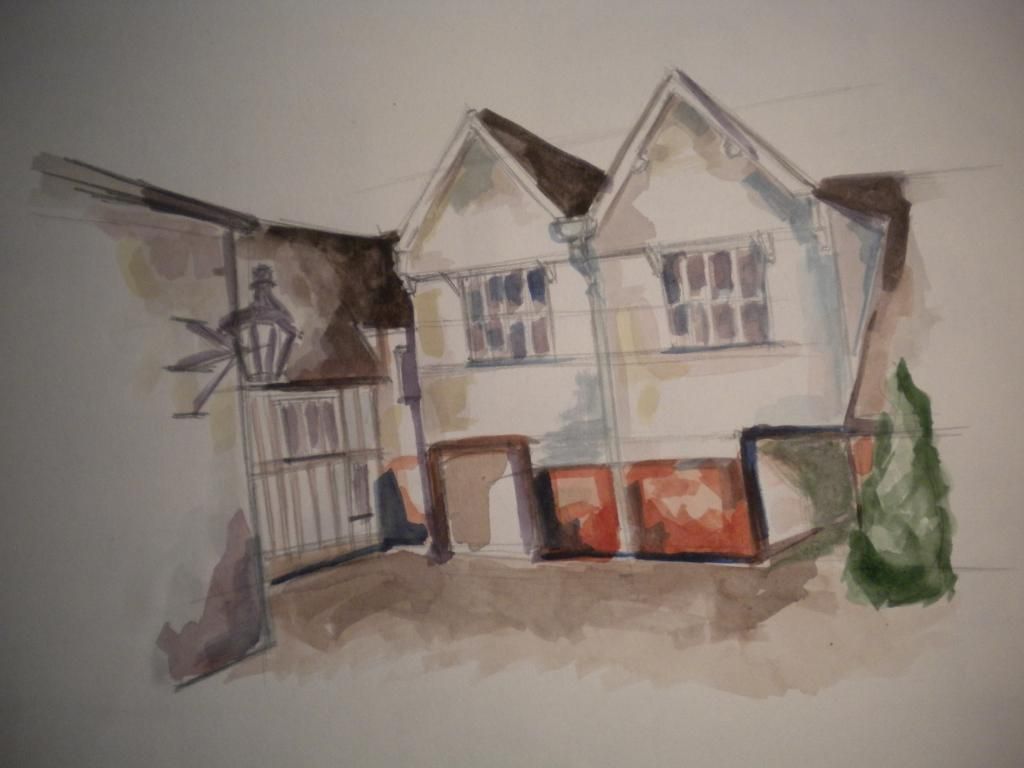
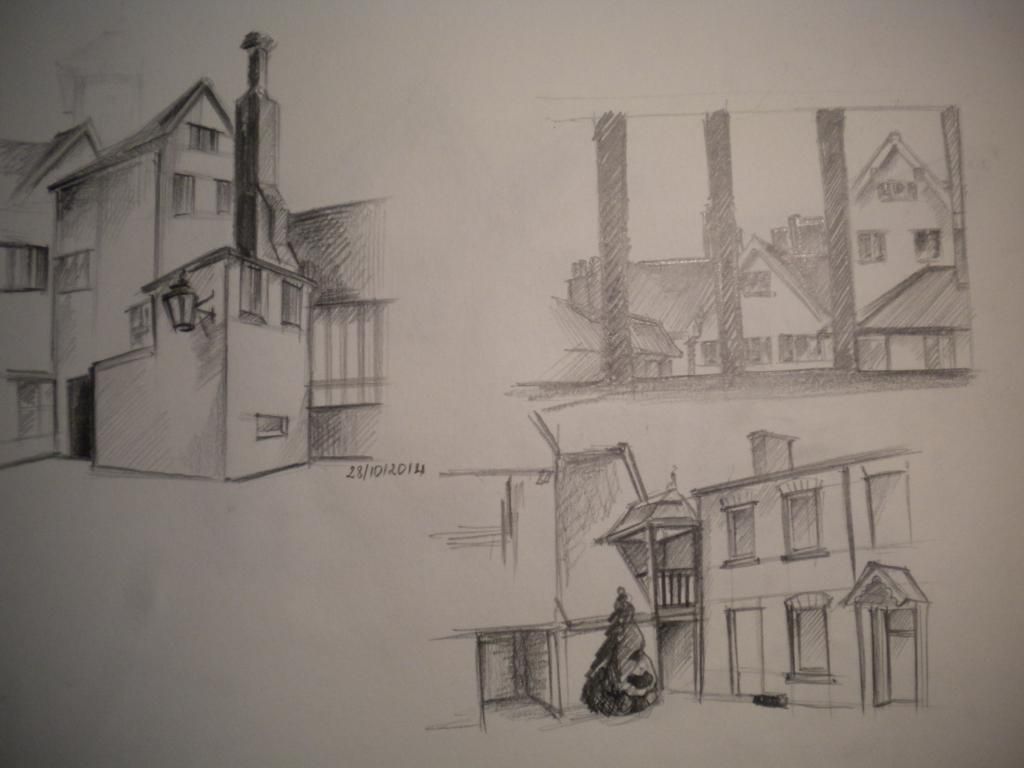
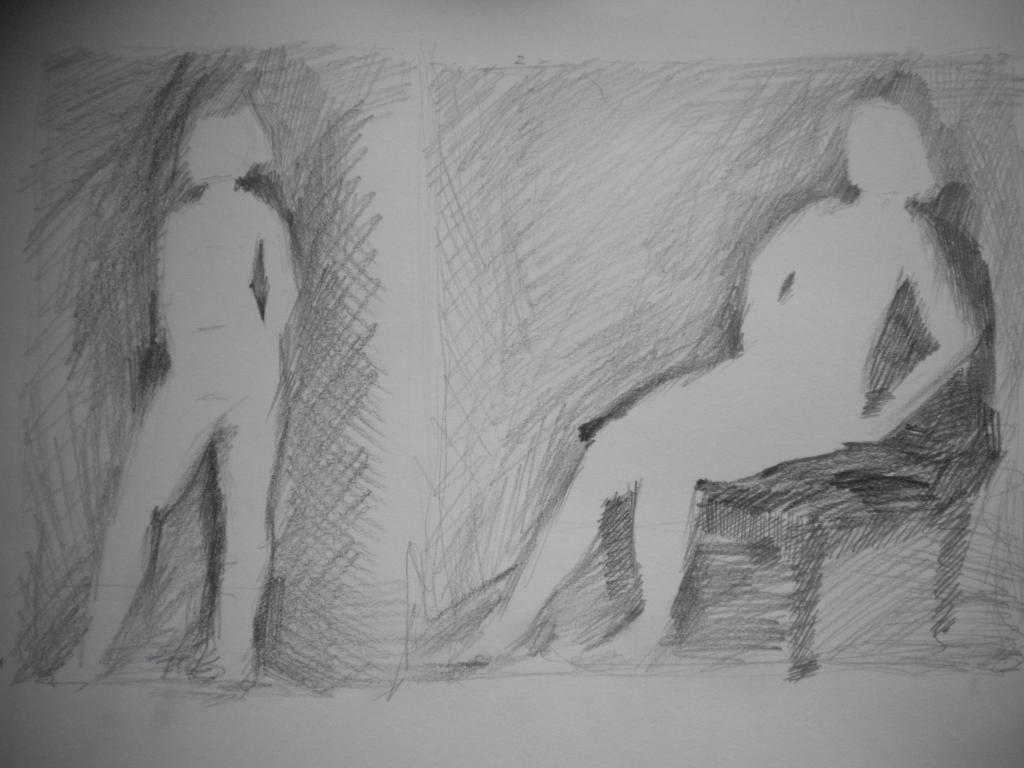
But before the project in my Visual design class I was exploring positive and negative space. I had to draw what surrounded the model instead of the model itself.

 photo DSCN4836_zps68e76464.jpg

In digital painting the tutor came up with a creative way to start the medieval project, by using parts of old houses and bashing them together. I felt quite like playing with lego parts and the photo bash allowed me to prepare myself for the silhouette making and to understand what materials and shapes I should use.

 photo Justhouses_zps24ce6bcd.jpg
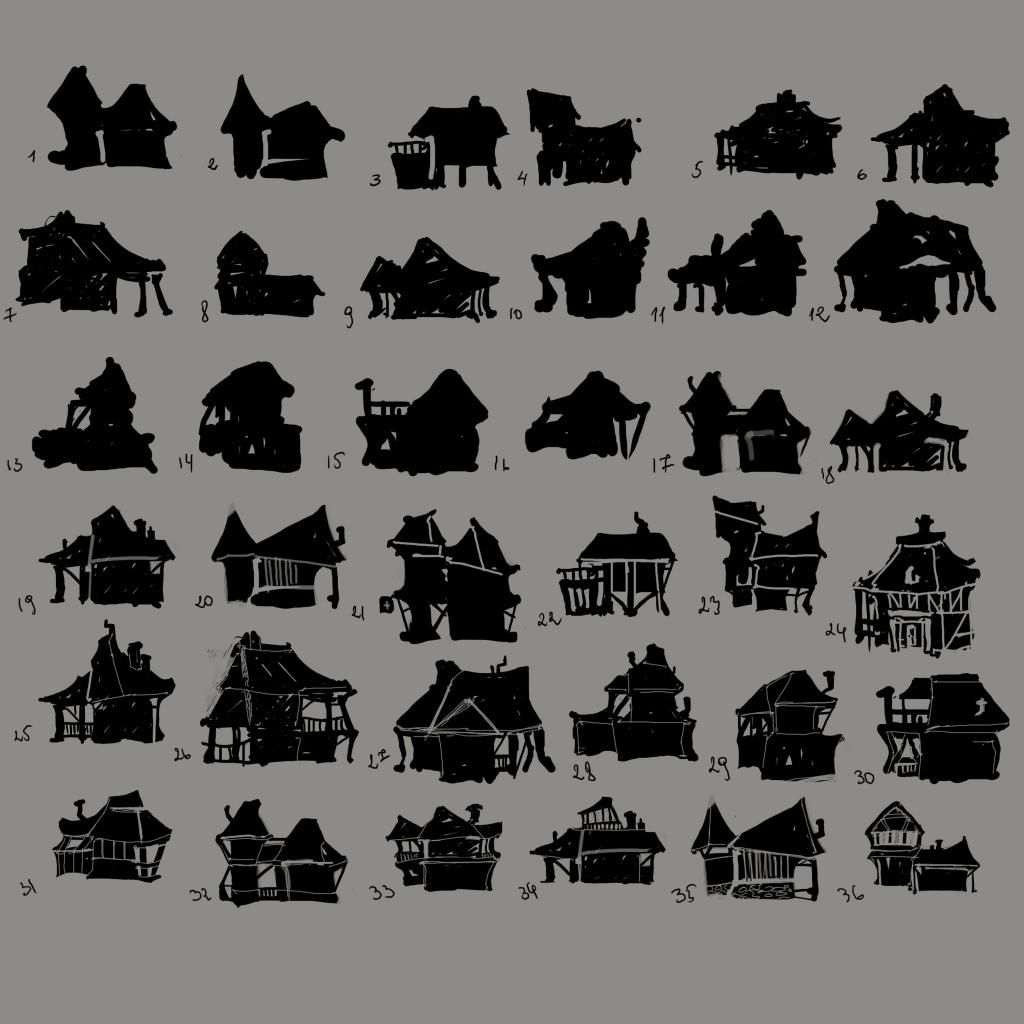
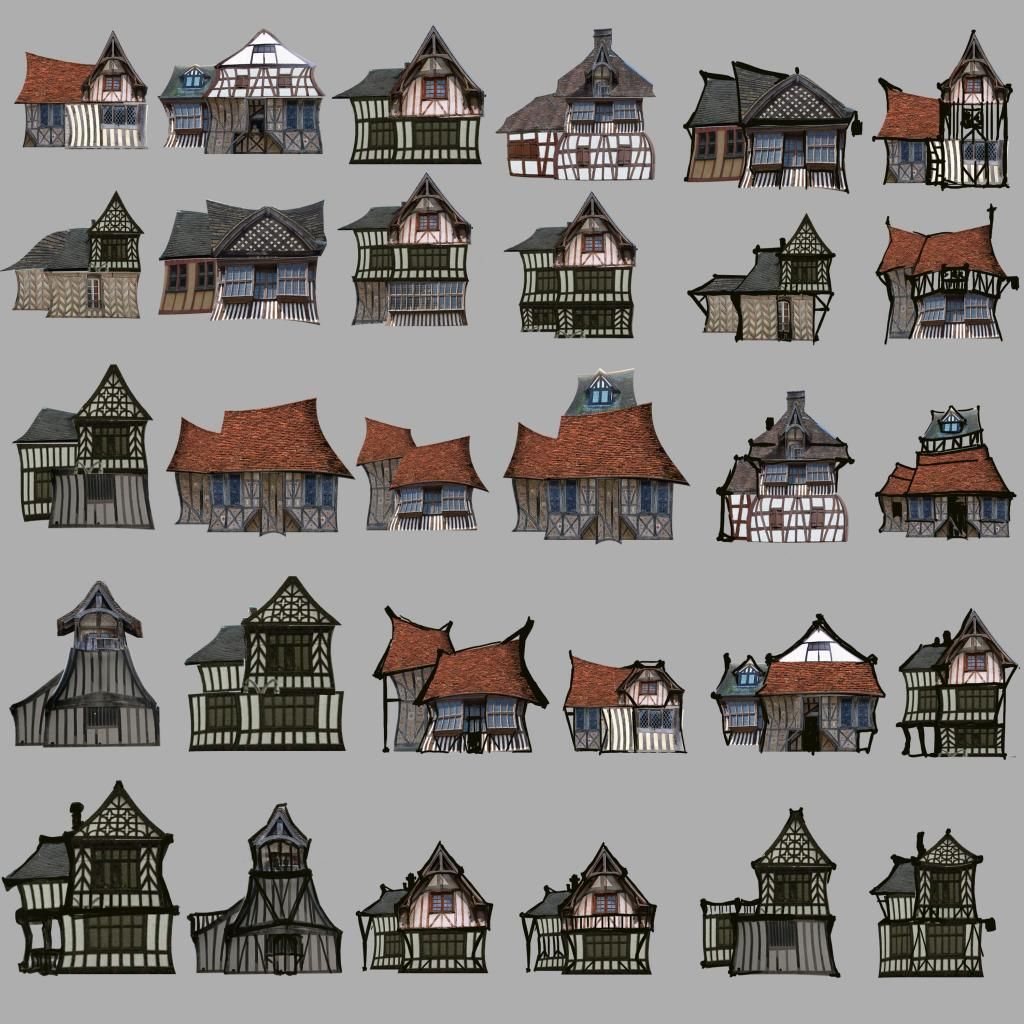
I moved onto making silhouettes and gathered opinions of my classmates to know which silhouettes seemed most interesting to them.

 photo HouseSilhouettes_zps1085f436.jpg
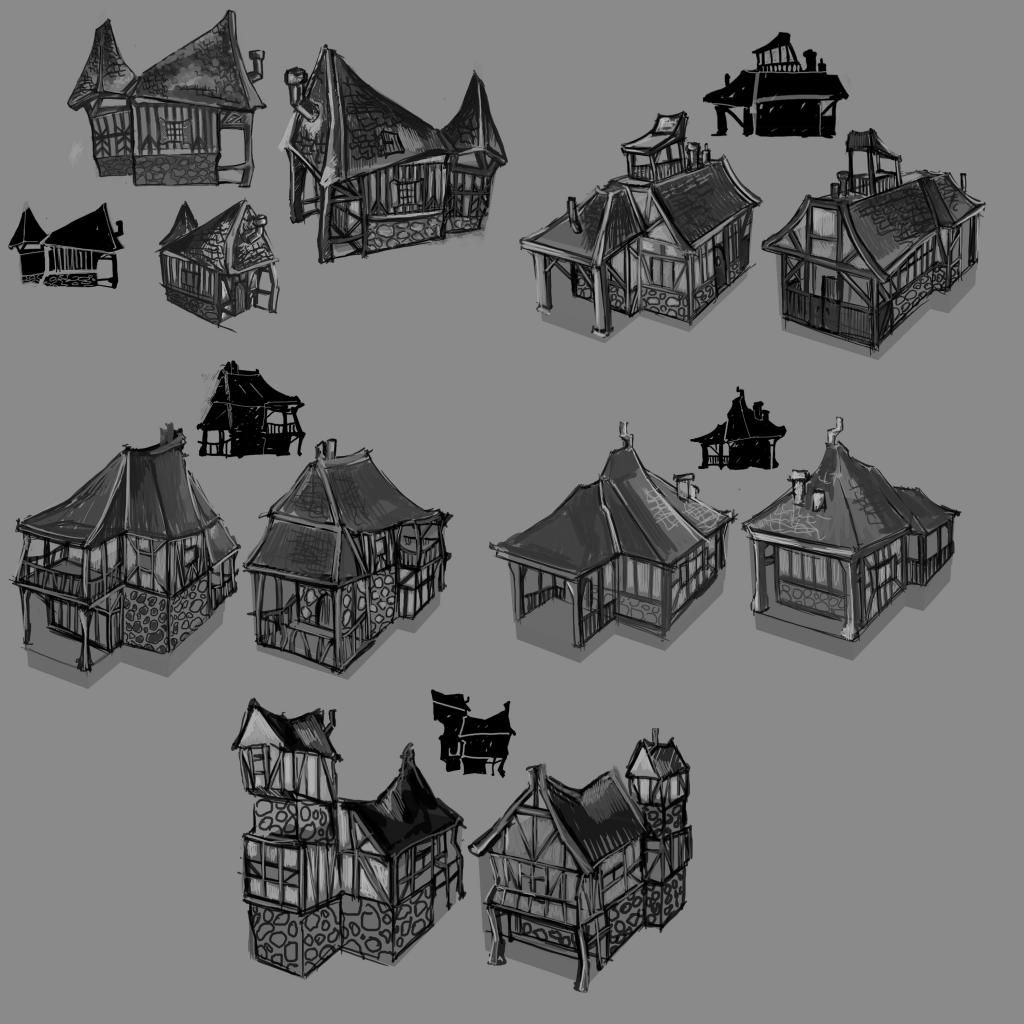
After choosing the silhouettes that seemed right, I did paintovers to have an idea and come to a decision of which house would end up as a final concept.

 photo Paintovers_zps4a7d74c3.jpg
This was the result and these paintovers concluded my week. A very busy week awaits next and a week that will probably throw the biggest challenge in my life and test my patience.
Monday 10 November 2014

Game Art Design Week 5 and 6! First serious project practice

This post will be a little different as I chose to mash two weeks into one as weeks 5 and 6 were dedicated to the Stylised Rock project. Week 6 was also a review week and for that reason I was able to focus on finishing given tasks and a game production project.

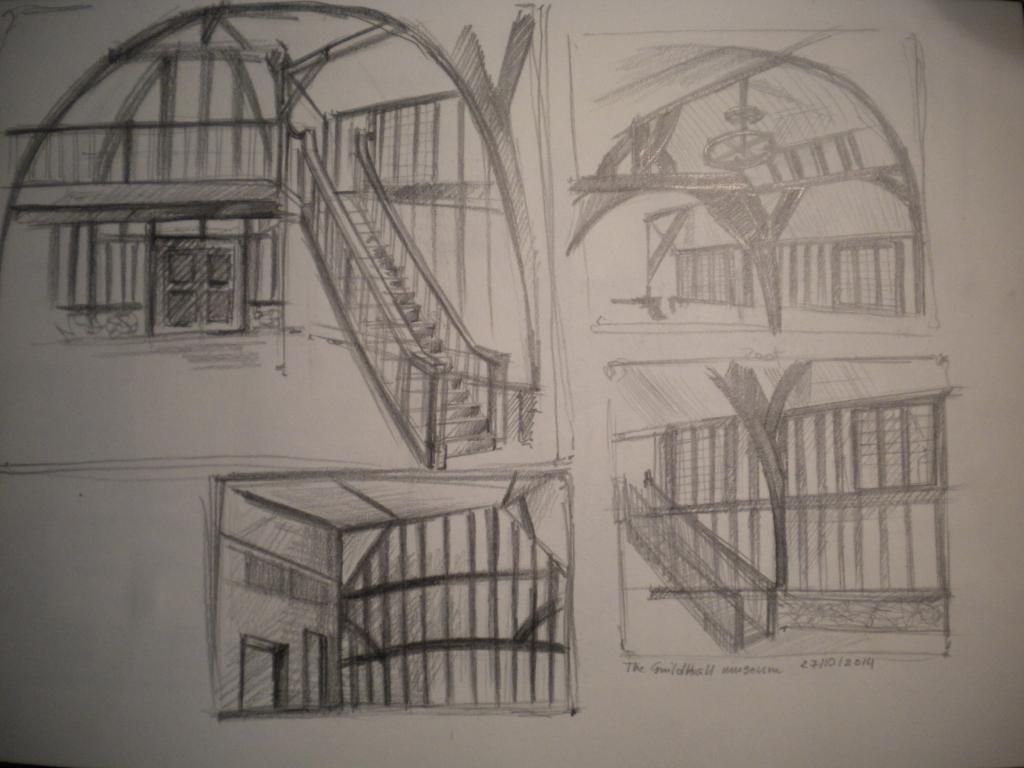
Let me begin with the start of week 5! It started with the very first trip on the course to the old Guild Hall museum. The purpose of the visit was to gather as much visual reference as possible and the information gathered would later relate to the Village project in week 7.
Here are a few examples of the Guild Hall thumbnails.
 photo DSCN4706_zpsae751077.jpg
 photo DSCN4704_zpse2983c3c.jpg
 photo DSCN4705_zps9ee61914.jpg


The next day I was given my first Game production project in which I had to create a stylised rock from scratch, using my own concepts before developing the final 3D piece.
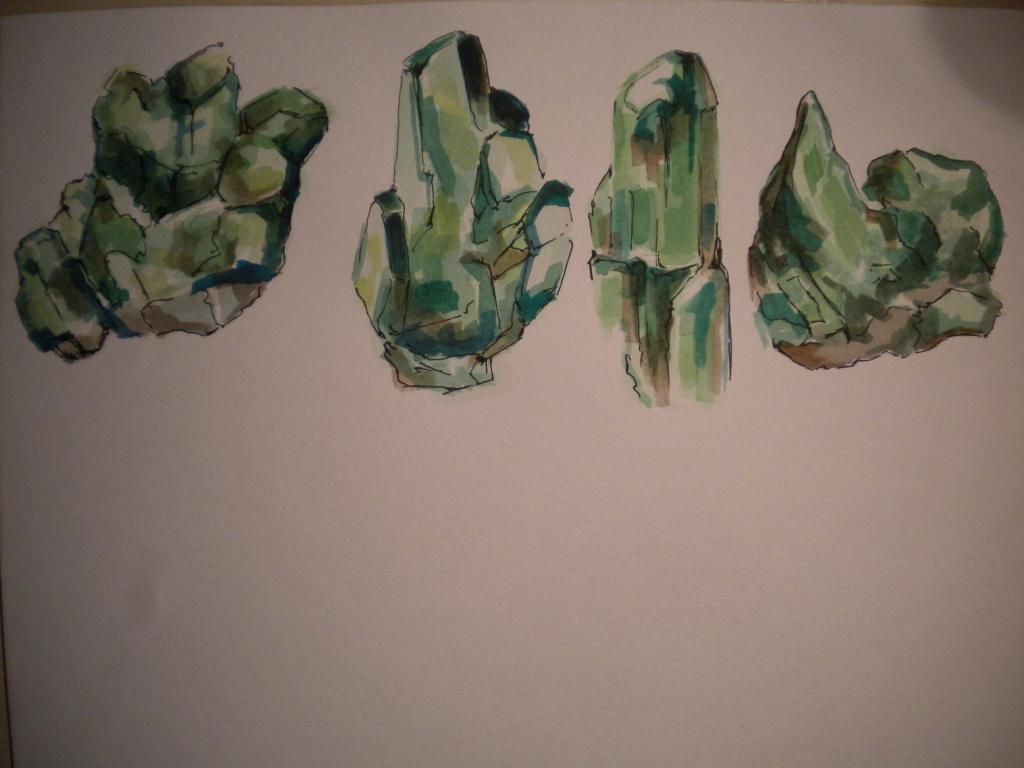
The creation process began with me gathering an extensive array of rock images and with the images I had to create a mood board. With the help of the mood board I started producing sketches of real life reference rocks and drawings of rocks and crystals from pictures.
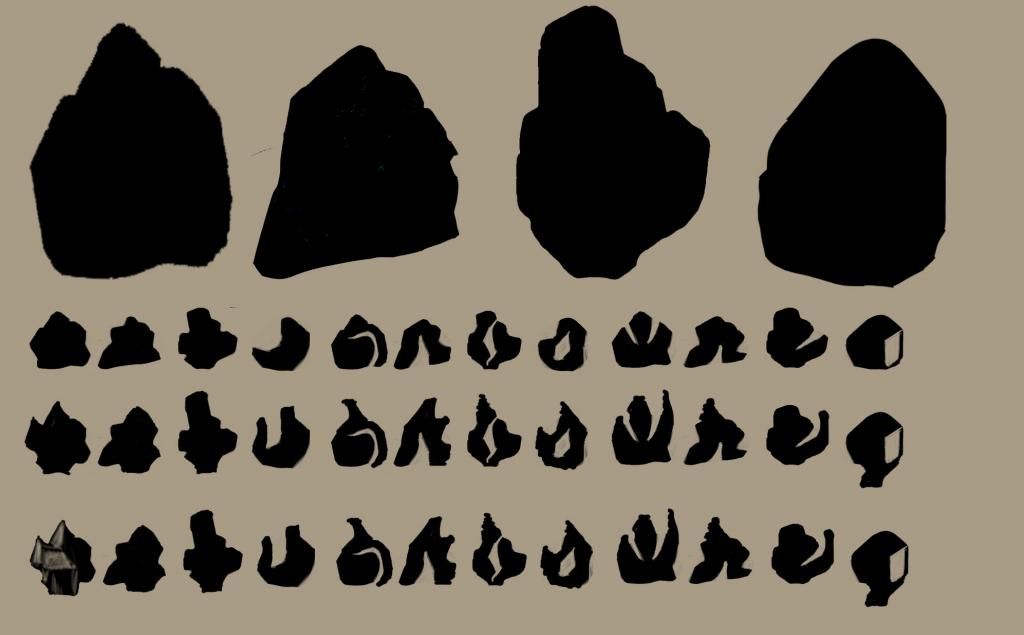
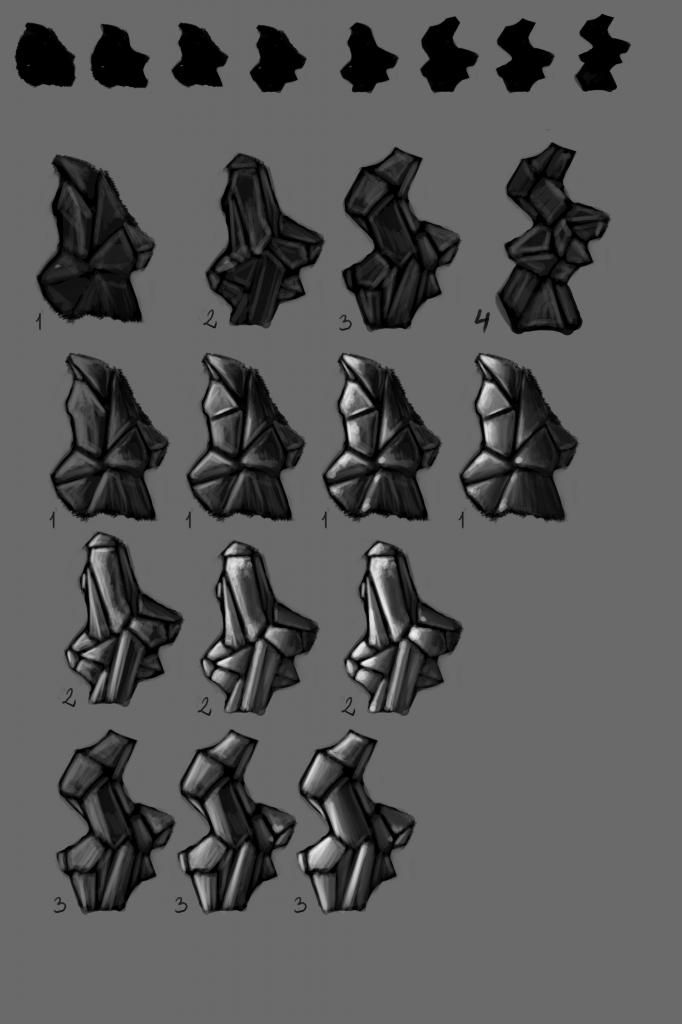
I was interested by the peridot shapes, which is why I started my silhouette making with the shape of the green stone.
 photo DSCN4707_zps0028c05b.jpg
 photo Untitled-1_zps1eed23d0.jpg
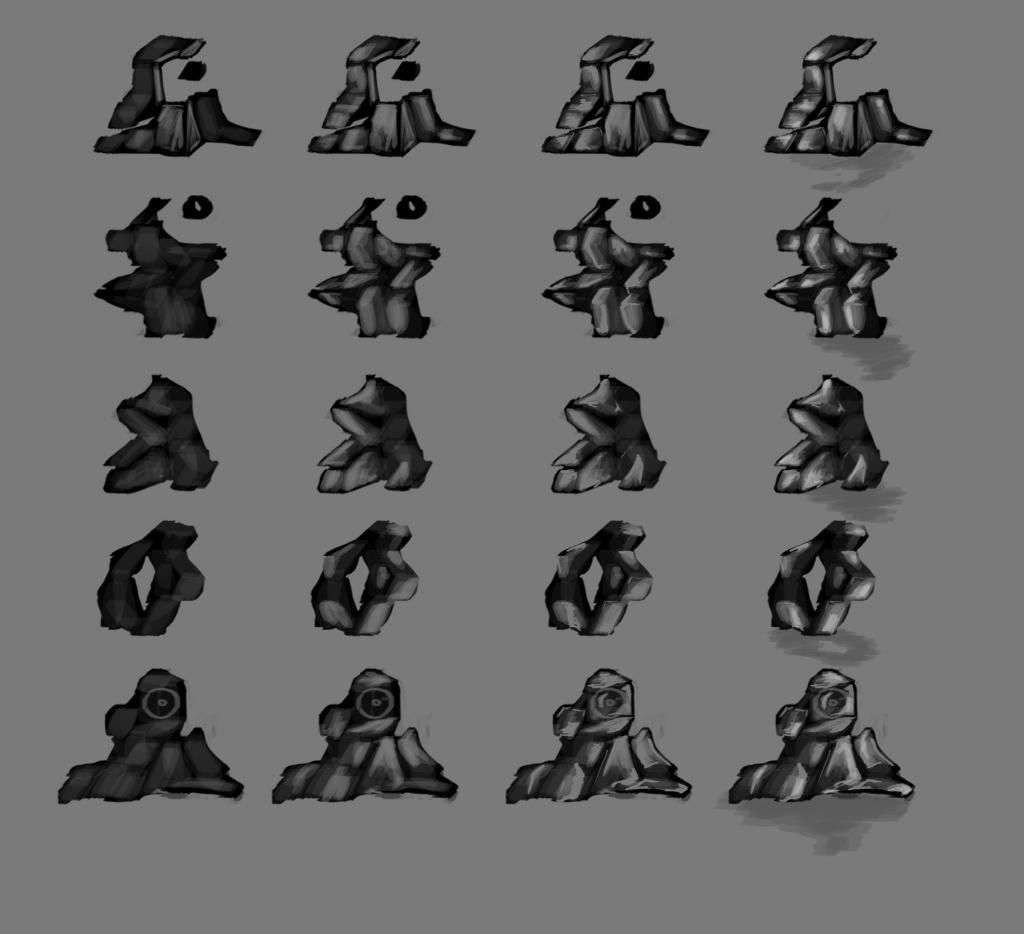
I moved onto rendering in values onto silhouettes and with that I have made my decision on the final design.
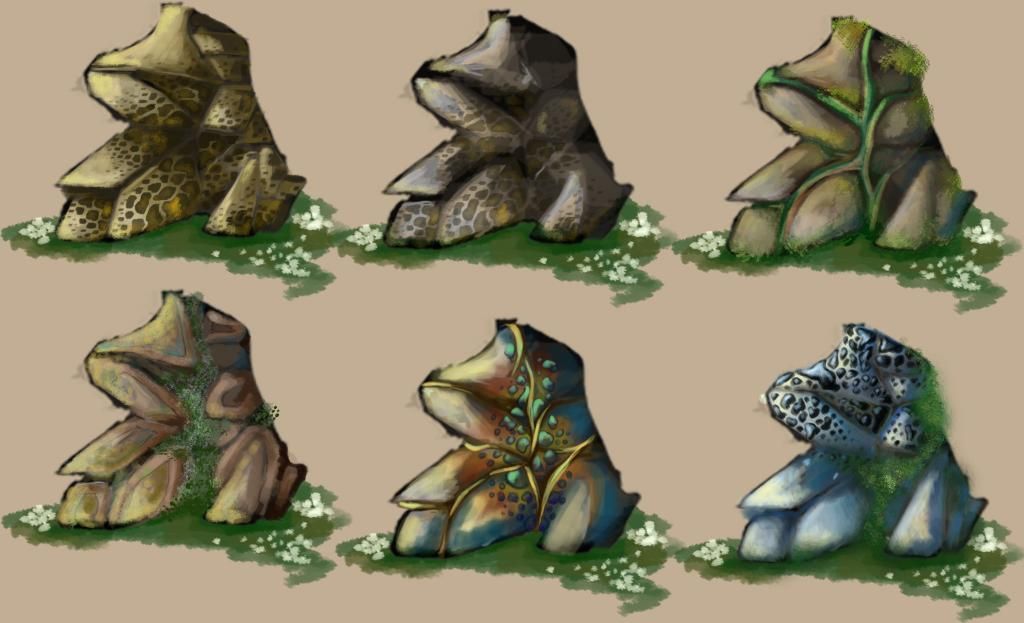
But the process didn't end there. I created a few more colour paint overs on how I could make the stone look like with patterns.
 photo RendersofSilhouettes_zps7d51daf1.jpg
 photo stones_zps0301503d.jpg

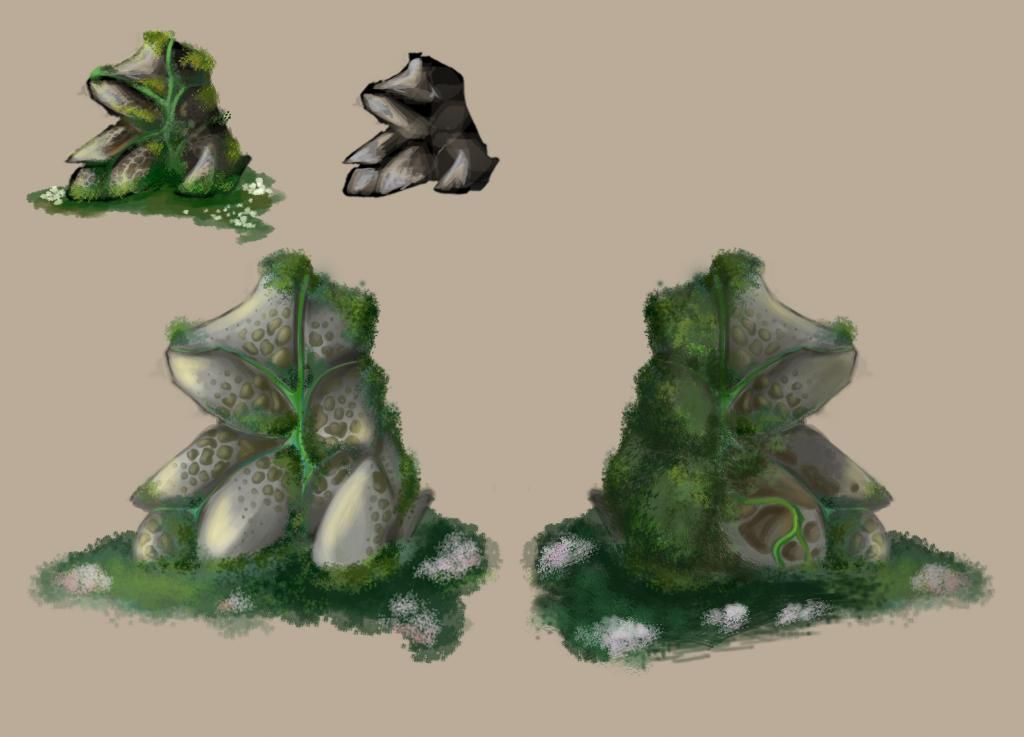
I researched some frog skins and patterns and used them in the development of my idea. The stone shape did remind me of a sitting frog with it's mouth open.
 photo rocks_zps83de86c3.jpg
This was the result at the end of making the concept of the stylised rock.
 photo Rockconcept_zps2b208ed0.jpg
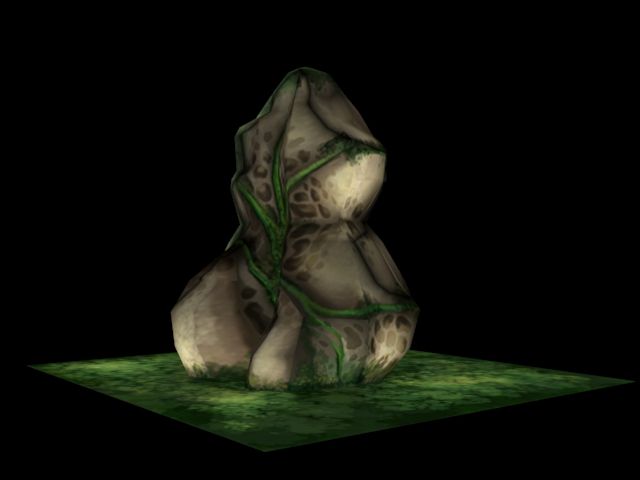
Using the two concepts as reference planes in 3ds Max I was able to create my stone easier.
 photo RockScreen3_zps21a7fecf.jpg
 photo RockScreen2_zps5de51517.jpg


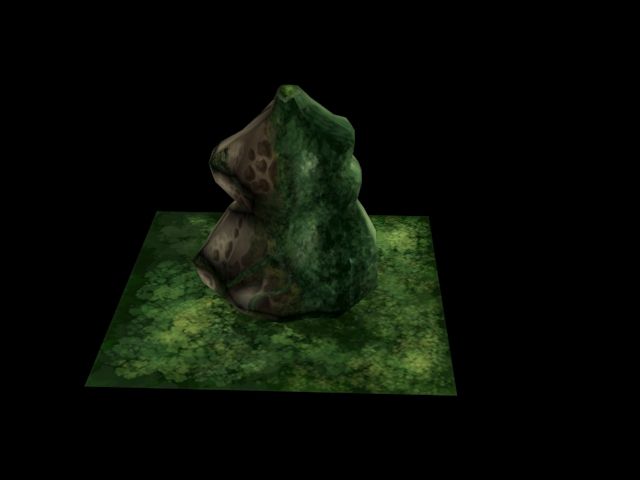
The conclusion of the stone also concluded week 6. I do understand that the 3D model did not turn out that well, but I do realise my mistakes and will prove on them in the following week in the new project.